how to install aluminum composite panel
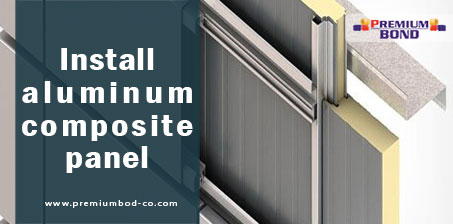
How to install aluminum composite panel
In this article, we want to make you more familiar with how to install aluminum composite panel and explain its steps
Workshop table :
One of the steps in installing aluminum composite sheets is first the garca table.
A workshop table should be used for the workshop
The size of the table should be the same size as the sheet used
The size of the sheet is 125 x 320 cm, which is the standard size
The size on our table has been determined. Now the height of the table must be standard, which is suitable for any height
And it causes less pressure on the back when working and makes the person tired later
We take the height of the table to be 90 cm so that it is not linear on the sheets and does not hit.
We install a chipboard on the table and we screw the screws onto the chipboard chipboard
So that there is no protrusion on the surface of the chipboard.
Composite coating :
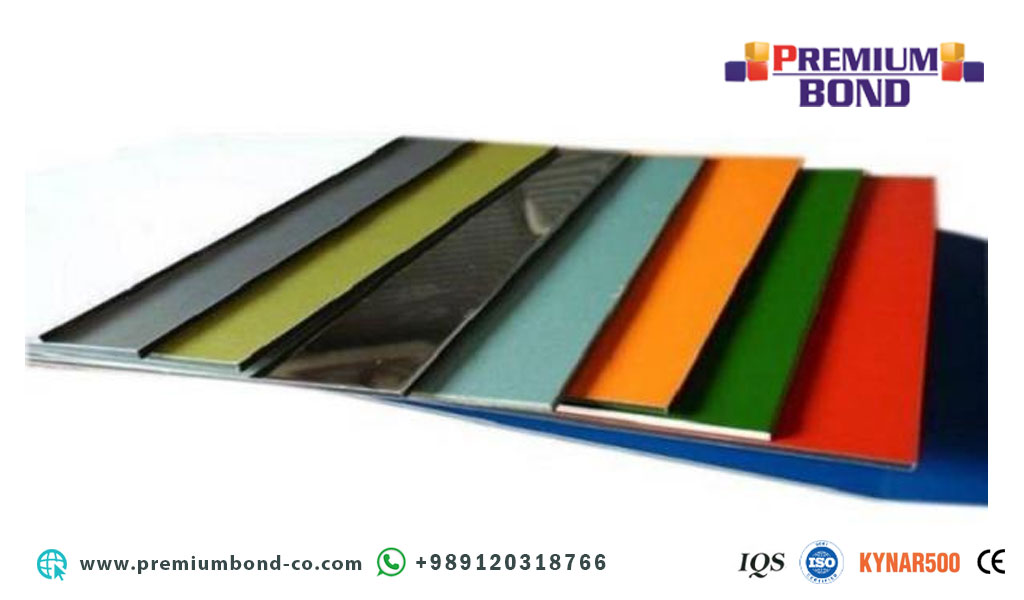
Now, to cut our sheets, we first look at the flash sheet
We call each complete sheet of a composite a sheet
Each composite sheet has a plastic coating on it
First of all, it prevents the composite paint from falling out
It also indicates the name of the manufacturer and the direction of the flash
This flash indicates the color of the composite PVD
That must be taken into account when assembling and installing
Because when the cover of the sheets is removed, their color does not interfere and makes the color of the boxes that are placed next to each other light and dark.
Meter hitting :
To do the first job, we need a suitable infrastructure to install our boxes on it
For the first cut, we cut the size of the cut and measure the iron profile on the substructure, which is mostly vertical.
By inserting the meter into the next profile
For example, left-to-right or right-to-right, we take the meter profile
In this case, the meter box is completely in the middle of the two profiles
The profile is 4 x 4 cm, in which case the box is placed exactly in the 2 x 2 profile
Now, in order for there to be a space between the boxes, there must be a space for hitting the corner and installing the boxes next to each other.
For example, it is 1 c
For example, our original size is 50 cm, and in order for the boxes to be in the middle of the mouth, we reduce the size of our paradise, which becomes 49 cm.
To measure the meter, both meters of the millimeter head should be used to reduce the error rate.
Composite cutting :
We have to use a round saw to cut the sheets of paper
Here’s how to use it:
First, we measure the device from the edge of the blade to the outside of the device with the meter
It is 3.5 cm and this time we measure the inside of the blade to the outside of the device’s screen, which is 3.8 cm, which is also the thickness of the 3 mm saw blade itself.
It should be noted that it should not exceed 5 sheets per sheet for cutting errors
Because if the saw blade is slightly angled, it gives an error of a few millimeters.
The size of our cut is 49 cm and we specify this size on the sheet sheet with the pen
And now we want it from the sheet of the bottom sheet, so in order not to make a mistake in our cutting, we calculate these 3 mm thickness of the razor for cutting.
And we tie our stencil, which is a piece of iron or aluminum profile, ahead of the line we struck.
Now the size of our sheet is 52.8 m and the stencil on this size is closed to the table with a manual screw
The hand screw should be fastened outside the stencil so that it does not stick to the saw handle when cutting.
Manual screw :
The correct way to fasten a hand screw is as follows
First, I put the lower jaw to which the screw is attached to the stencil. Second, we put the upper jaw, to which the handle is attached, under the table profile.
Then we pull vertically the upper jaw, which is below the parallel table of the stencil, and turn the screw handle so that both jaws are closed
And when it is not possible to fasten the hand screw to the table, we close the sheet to ourselves
When you want to make longitudinal cuts, you should use the lids of the two jaw screws
Because with a little slipping, the two jaws open
When the length of the stencil exceeds 150 cm because we attach the device to the stencil and move it.
The stencil bends from the middle to the 1st, and the cut or groove does not have a smooth line, but one person has to stand on the table and put his foot on the stencil.
Now, when the sheet is cut, the same 49 cm is cut
But when we ask for a high cut from the sheet, we should not count the 3 mm thickness of the saw blade
And we reduce the size of the cutting sheet, which is 49 cm, by 3.5 cm
And we can close our 45.5 cm and template to this size, but when it is cut, it will buy 49 sheets.
Overfers :
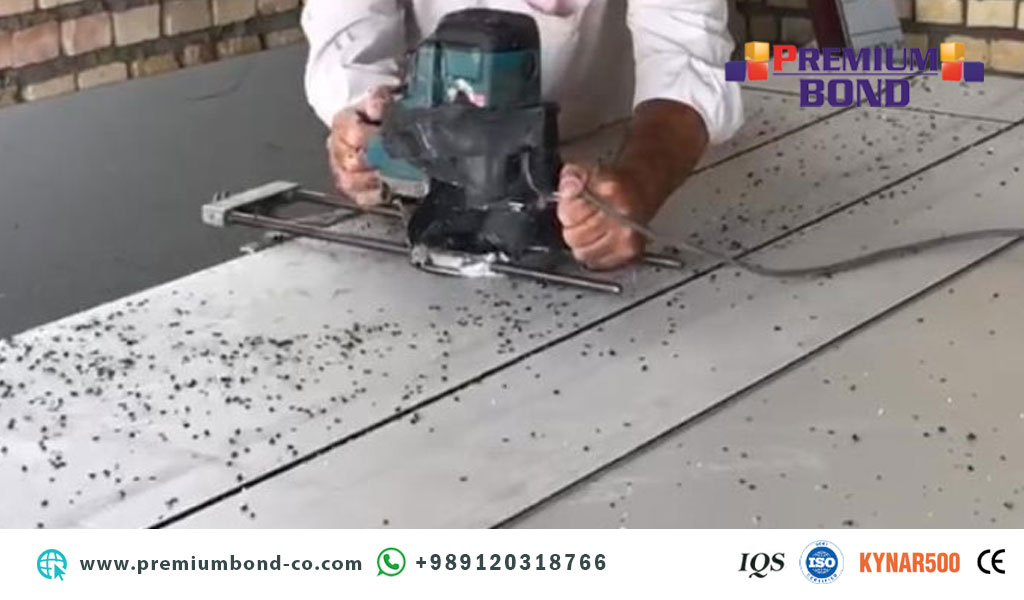
In order to be able to bend the edge of the composite, we have to group it to bend it and we use the overflow machine.
And we tie this device to the stencil and move it so that the groove line is smooth
And in order to get the size of the overflow template, we measure the outside of the device screen to the tip of the overflow drill bit.
For example, there are 8 cm, so to make a groove, we close the stencil from the edge of the sheet 10 cm above the edge of the sheet.
And when we move the overflow on the template, our groove 2c becomes accurate.
In order for the groove to be smooth and one-handed, we have to turn from left to right and place the body inclined to the left of the device.
And the device moves ahead of the body, which the right hand must do at the same time
Press the device forward and the device screen down very softly
It does not allow the screen to be lifted from the sheet and left hand.
And moves the device forward
It should be noted that all this must be done in such a way that the device itself moves forward
And it moves very softly and easily, otherwise we will face problems
When grooving, the body should be 20 cm away from the overflow to make it easier to work
He throws polyethylene and aluminum around him in a pleated manner while the machine is grouting.
And the body should be about 20 cm away from the device
And if you look at the groove template and the device, you should use safety glasses
For the safety of the eyes when grooming, it should be noted that the screen of the machine should not be lifted from the sheet when grooming because it will fall down the stairs.
And one hand does not buy grooves and when bending the sheet is not smooth and bends from the middle and gives an error of 1 to 2 m.
The appropriate speed for the groove with overflow is 35 seconds per 1 meter
To deliver a good groove to us
The device should not be turned on while flipping
And the outside of the device should be turned on
And move forward so that our groove grooves are complete and smooth
And do not turn off the device while you are working on the group
Because the drill goes lower and sticks out of the work, and in some cases causes the sheet to puncture.
The heavier and bigger our overflow, the faster it works
And it’s even easier to eat a group that has the best overs for Mark Makita.
The composite sheet is 4 m and our drill should go 3 m lower than the sheet and take the load
To bend the sheet, the composite sheet is composed of two layers of 5 micron aluminum, which are located on both sides of polyethylene.
And the 3m oversized drill must be loaded, which must be 5 micron polyethylene on the aluminum layer so that the sheet does not tear when bending.
And if we want to open and close the box to fix the work, ethylene money will prevent the sheet from rupturing.
Groove :
We use two types of drills to drill the composite
Nail semicircle and weekly nail shape whose semicircular drill is faster and bends more easily
But the weekly drill bends more accurately and bends a little later than the semicircular model
However, this type of drill should be used and before working with this drill, the drill head should be smoothed with a milling cutter.
If it goes lower, its sharp tip will not cause the aluminum to rupture
These two types of drills are available in two sizes, 6 and 12, which must use the size of these drills in order to be comfortable and 90 degrees bent.
When we want to group our sheet in a semicircle, we no longer use a flat template
Instead, we use the same rolled iron that is used on the facade as a stencil
And we must use the overflow whose page is round
To turn the device on to give us a round group
And the bending time does not bend because our back lip is arched
So we have to move our lips back to a certain distance of 10 S to 10 S Persian so that our arch is destroyed and bends easily.
And where the corner buys, we have to glue the lips together with a piece of composite
It is better not to tilt the box and look at the corner instead of the Persian one.
Vertical composite sheet :
When we group the sheets, the edge of the sheet does not bend.
Or take that ear out completely to bend the edge of the sheet to 90 degrees
In the second case, we use Gunia to remove Persian
First, we make the gaps created by the grooves inside and outside the groove
Glue the whole corner to the edge of the sheet and place its head on the tip of the groove
And we draw lines automatically, and we have to pay attention to it in the same way that if we don’t correct Gunia.
And the line is even 1 m crooked.
This creates problems in the installation process
Now we use the device perpendicular to Persian
For Persian cutting before cutting because the saw blade of the machine perpendicular to the sheet for cutting is high
And to hit, you have to first cut out the formed triangle
And then cut inwards. If we do the opposite, we get into trouble
Since the triangle is no longer balanced, we must also insert the saw blade into the line 2 times when cutting.
Crook :
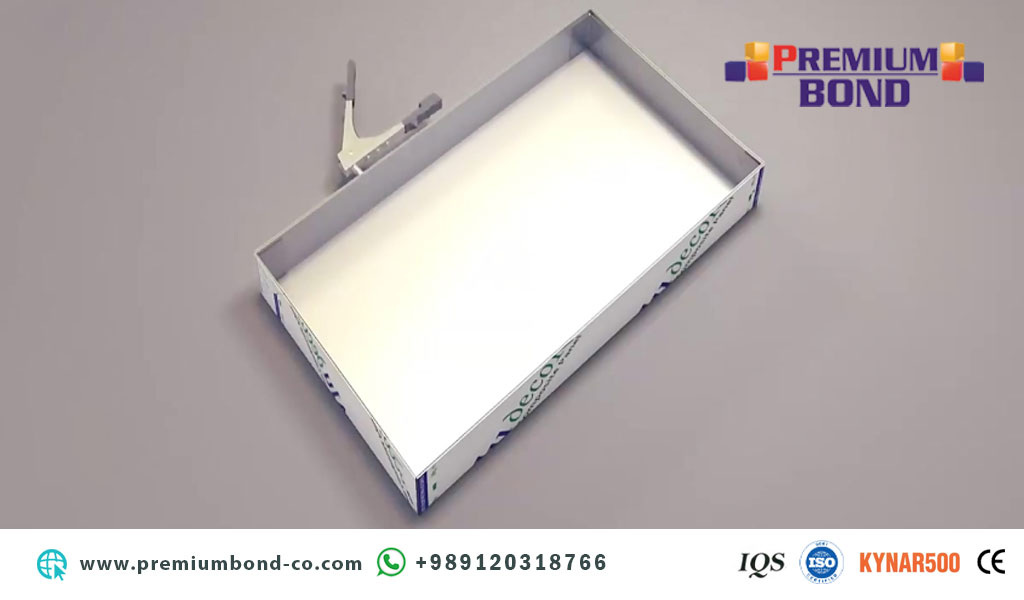
A hammer or pliers should not be used to bend the groove
And you have to use a device called a bender, which is how it is made
We use two pieces of profile or corner along the width of the sheet
And in the middle of these two we put a belt of composite
And in order to easily return the lip, we put two beads around the belt
And we screw these five pieces together. The width of the belt should be such that the lineage of the pliers goes into the bend.
When the height of the box reaches 140, it bends further from the middle of the box after bending the groove from the corner of the box.
And after installing the top and bottom of the junta, it is far away, but it is wider than the middle of the seam from 5 m to 1 cm. To solve this problem, we use the 3 cm groove.
In order for the boxes to fit together perfectly during installation, and all the junctions to fit perfectly.
The grooves should bend correctly and not more or less than the width or length of the box, and should be 90 degrees
After bending, you have to turn the box over and hit the all-rounder vertically with an iron hammer.
Until it is completely bent from the middle and 90 degrees and the bending head is sharpened.
When we bend the edge of the sheet so that it does not open or does not lose its 90 degree angle
We cut a piece of sheet so-called bite or corner with a rivet to the back of the rivet from the inside.
In this case, our back lip can withstand the weight of the box on the facade until they are no longer open
And the box doesn’t bend and it doesn’t bend 90 degrees, and the boxes have the same seams on the façade side by side.
Cornering :
At this time, when hitting the corner of the box, we first draw a sharp object to the edge of the group
Until the sheet label is torn and we complete the return lip label
Because we don’t have a problem when sealing and removing the cover of the boxes, then we determine the location of the corners
So that when the boxes are placed side by side, there is no corner
To do this, we use two small and large composite belts
Which is replaced by a door multiplier
We use a rivet to attach the corner to the box so that the corner is executed accurately
And to connect a rivet, it is enough to use four corners for the box to be installed correctly
But when the length of the box reaches 140, we use six corners to connect
And compared to the size of the box, we increase the number of corners.
different ways :
In some cases, the composite sheet does not have the proper quality or the height of the boxes reaches 160.
Then install or after a season the box will swing from the middle
This method can be used to solve this problem
This method is called a stiffener. In this method, we put two aluminum cans or thick angles of the same size inside the back lip in the back of the box.
We cut and bend the heads of these two and rive it to the groove
And we connect from the middle to make the shape extra. In this case, the strength of the box is very high.
Alternatively, we can use double-sided adhesive tape and glue the aluminum to it with hammer blows.
Sometimes we create another box if the width or length of the sheet is not enough for the box
And we rip the two groups together at a distance of 5 cm
In this case, the boxes can support each other’s weight, and the seam between them is only 1 m, which I call this style.
This method is mostly used for large and multi-piece boxes.
Installation :
To install the box on the façade, we screw a corner to the iron
You always have to be very careful when installing the first box
Because the rest of the boxes are installed according to the first box, it must be perfectly level and smooth.
When the box wants to be installed horizontally, we first determine the size of the balance on both sides of the building with a hose
Then we pull with a string, which is preferably a wired string because it does not twist or tear.
And at this time we install the first box
According to the string, the edge of the box should match the string, and at the same time the box should be perfectly aligned.
When the next box is next to it, it will run parallel to the string and smooth to the end
There should be a space between the boxes.
For example, the distance between two boxes is 1 cm and we choose two pieces of chipboard with a thickness of 1 cm.
And we put the bottom and top of the junta and first we close the screw inside the junta
And after fully adjusting, close the lower screw, then close the screws on the other side of the box.
box of composite panel :
When two and four boxes are installed on top of each other, these boxes form a four-way center in the middle
And at this point, we’re going to make a cross in the top box to make these four ways
And we put it in the middle of the crossroads so that the box doesn’t lose its Gunia mode
And now we install the vertical boxes, this time we start from the last opening
And we specify the place where the box will be installed
And we install the box, then we throw the level string
And at the bottom, wherever it is fixed, we tie the string and install the bottom box
In this case, the boxes will rise in parallel in this direction.
Aluminum substructure :
It should be noted that in some cases the box does not appear on the profile due to infrastructure failure
And you can’t screw the corner anywhere
By piercing the corner first, then with a profile
Then we mark the work with ourselves and make holes and screws or rivets
Otherwise, it will be damaged by hand, then we will screw the corner of the box on it, and after finishing the installation, we will regulate the atmospheric notes in case of lozenge.
Sealing :
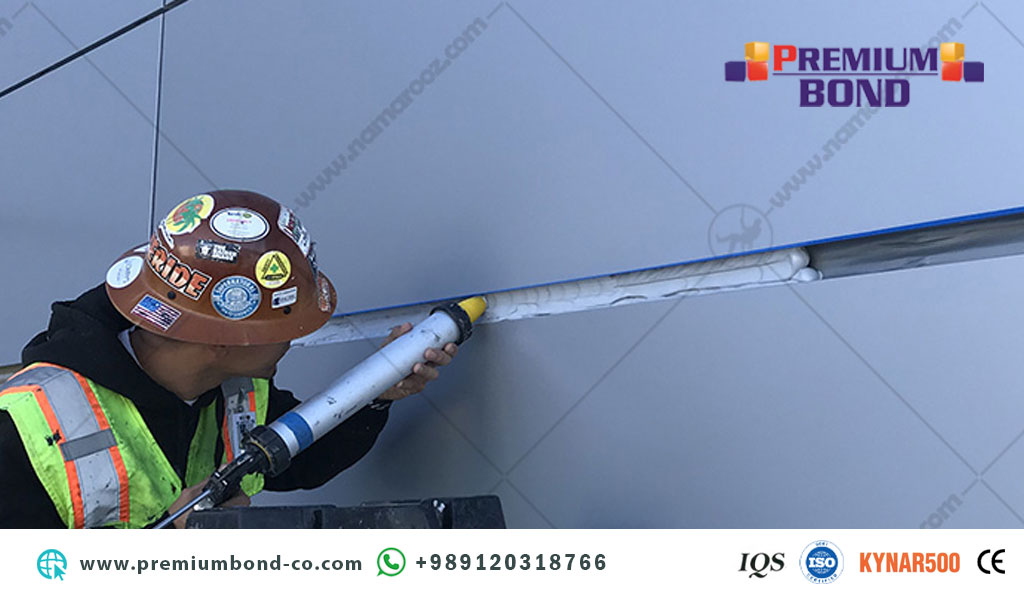
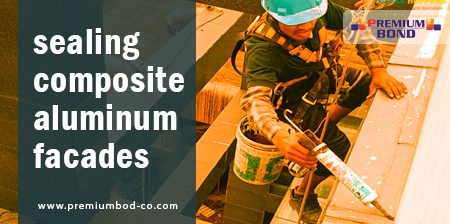
At this time, we seal the facade with silicone glue
The first thing to do is clean the inside of the seams from dust
Because silicone glue does not stick to the body of the walnut
And then we glue the rubber that is embedded in the seams of the lint
It should be noted that to fill the seams, such as foam rubber and composite belts, we must completely fill the inside of the joints with glue.
So that these objects are not separated from the seams due to the cold and heat sun.
Silicone adhesive:
But the best way is to seal the foam in the seam and fill the silicone glue
Lip-to-lip and this is the only 100% sealing method,
All white glue loses its white color in the presence of the sun
And they turn into light orange. This is the method of sealing
First, we glue the inside of the seam, then we press the foam with the pressure inside it
Then we pour the black glue on it completely and draw it on the seam with a spatula or a finger.
The glue is completely smooth and smooth
It should be noted that the adhesive should be applied once because the smooth adhesive does not form the second time
After finishing the quick work, we will label the corners of the box
To remove the glue that is rubbed around
And the seam full of our glue becomes perfectly smooth and one-handed
And if the label was once removed, we had to cover the mouth of the junta with paper glue so that the glue would stick on it and we would remove it.
Otherwise, we will face a problem





Leave a Reply